
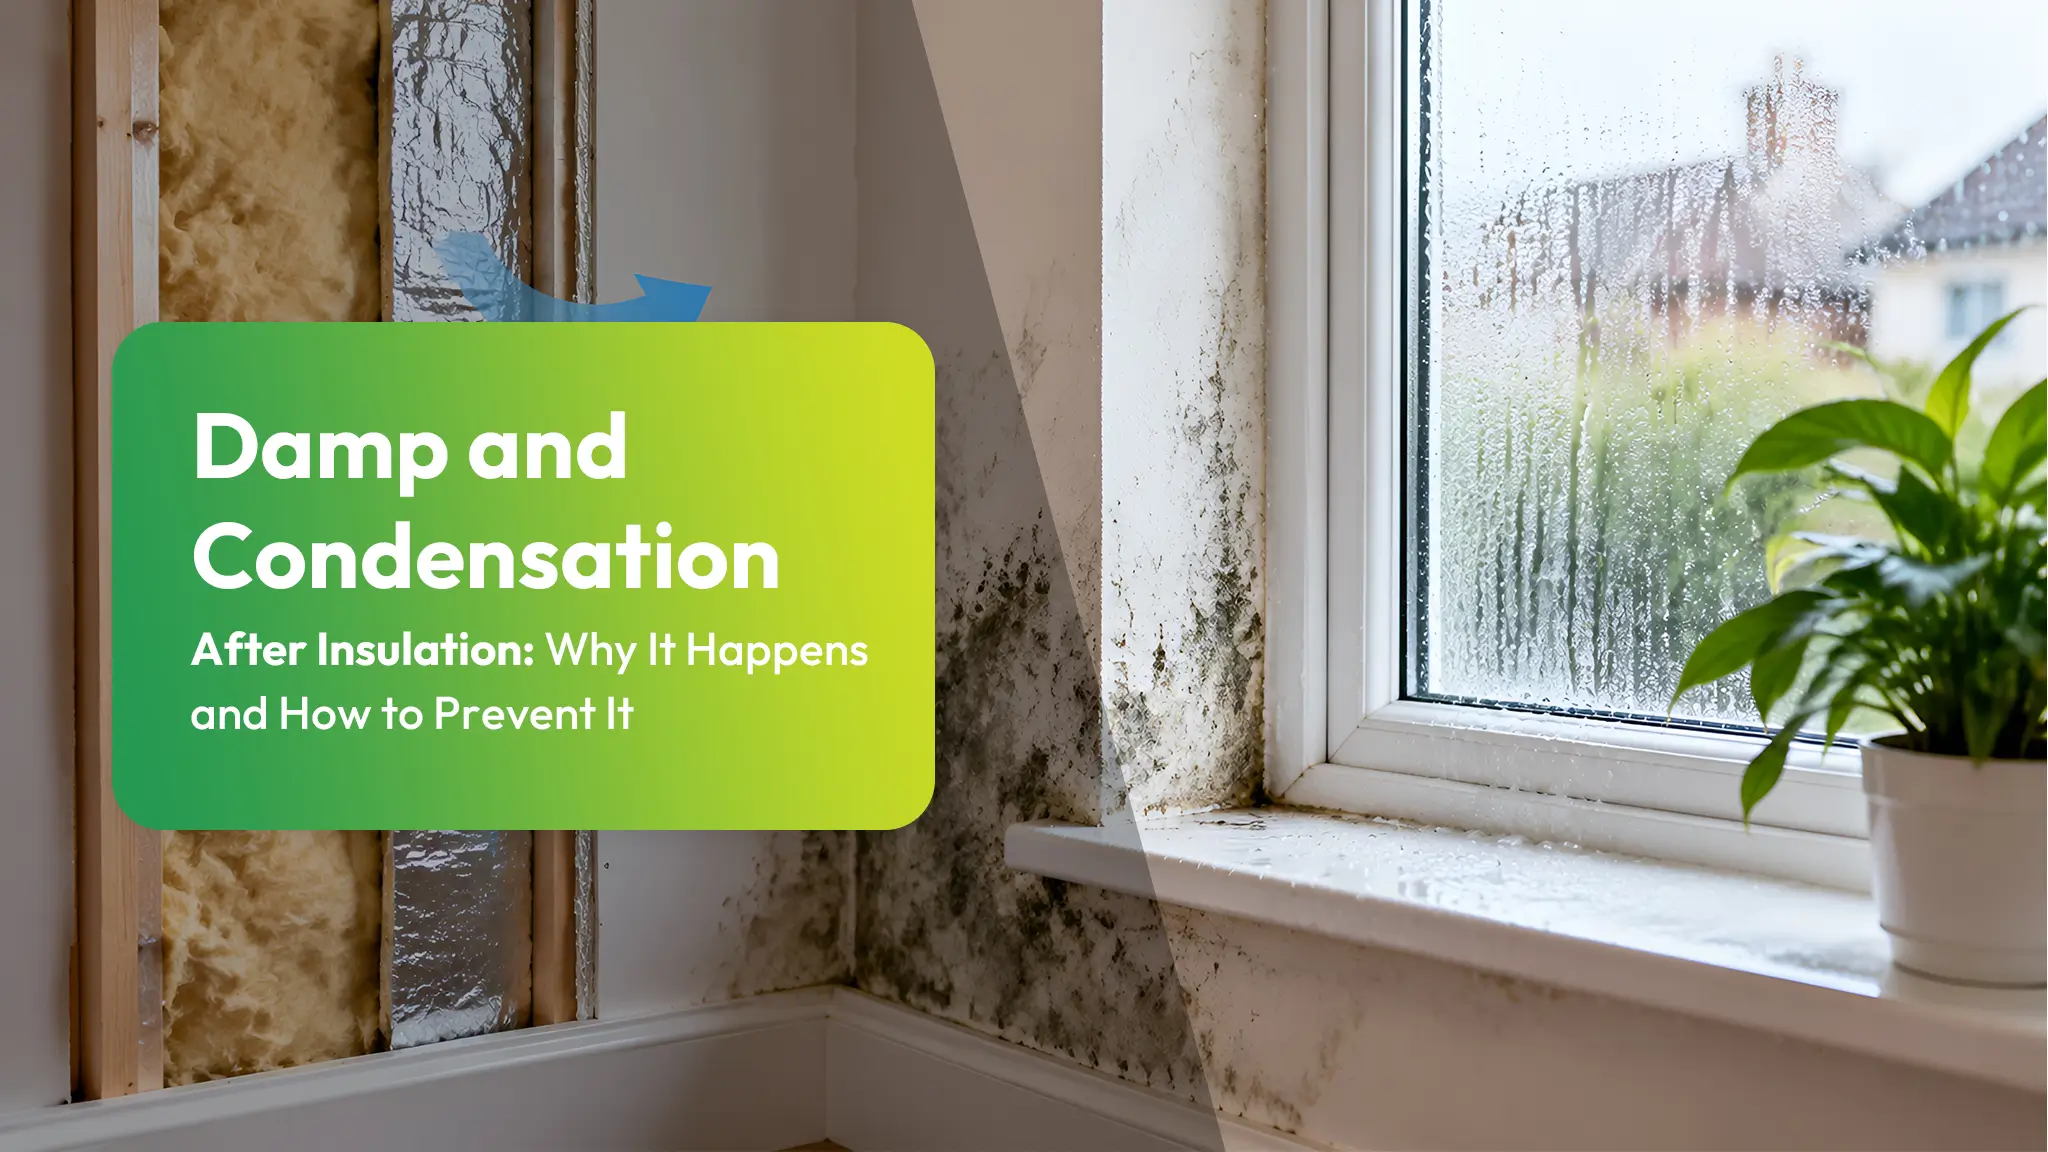
After insulation, homes often become warmer and more airtight, so everyday moisture from cooking, bathing and drying clothes has fewer escape routes. This humid air then condenses on any remaining cold spots, such as poorly insulated corners, window reveals or hidden cold bridges, leading to damp patches, mould and musty smells. Good ventilation, correct installation, vapour‑aware materials and careful detailing around junctions prevent most problems. The following sections explain why damp and condensation after insulation happens and the practical steps to stop it.
Key Takeaways
- Insulation changes temperature patterns, so warm moist air condenses on new cold spots like poorly detailed windows, junctions, and thermal bridges.
- Tighter, more airtight homes trap humidity; without upgraded ventilation, moisture accumulates and causes condensation, mould, and musty smells.
- Incorrectly installed insulation or vapour barriers can trap moisture within walls and ceilings, leading to hidden damp and material damage.
- Prevent problems by combining continuous, well-detailed insulation with effective ventilation systems, extractor fans, trickle vents, and regular window opening.
- Monitor and manage indoor humidity (aim for 40–60%) using hygrometers, dehumidifiers, and moisture‑reducing habits like pan lids and outdoor clothes drying.
Table of Contents
Why Damp and Condensation Happen After Insulation
Damp and condensation after insulation in the UK typically arise when warm, moisture-laden indoor air meets colder surfaces or poorly detailed building fabric, causing water vapour to condense. Once insulation is added, indoor temperatures often rise, allowing air to hold more moisture from everyday living: breathing, cooking, washing, drying clothes. If that moisture is trapped, it seeks the nearest cold bridge, crack, or uninsulated patch and condenses there.
In many UK homes, older walls, blocked fireplaces, and sealed chimneys once allowed buildings to “leak” moisture out. After retrofitting, these escape routes are frequently closed without creating equivalent, controlled ventilation. Poor detailing around window reveals, junctions, and structural timbers can leave hidden cold spots that attract condensation. When this moisture repeatedly wets plaster, brick, or timber, it appears as damp patches, mould growth, or musty smells clear signs that the building’s new thermal balance conflicts with existing fabric and lifestyle.
How Insulation Changes Moisture Movement
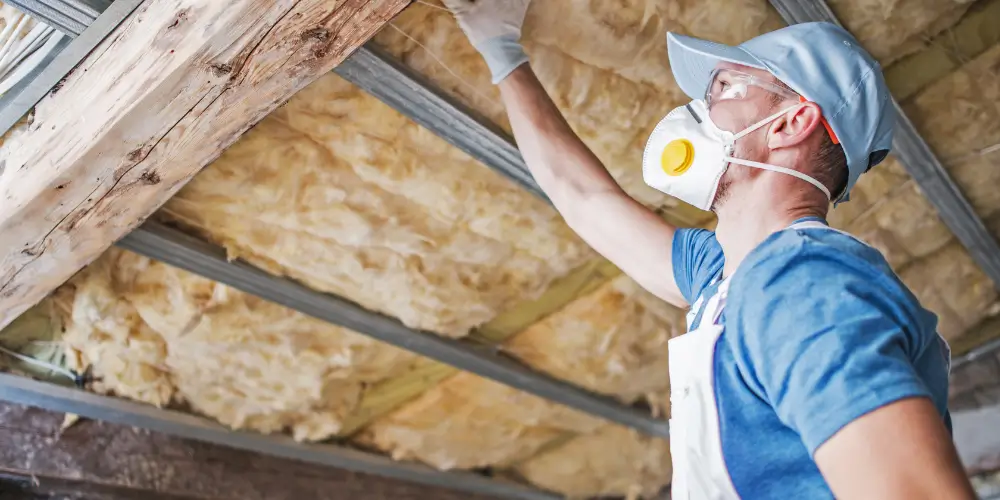
Once insulation is installed, the way moisture moves through a building shifts from slow, diffuse escape through leaky fabric to more concentrated pathways through remaining gaps, junctions, and ventilation openings. The structure becomes more airtight, so everyday moisture from breathing, cooking, and washing no longer drifts out randomly; it must find defined routes or be deliberately extracted.
Insulation also alters temperature patterns. Surfaces become warmer on the room side, while colder layers are pushed deeper into the structure. This temperature re‑stacking changes where air cools and where vapour can turn into liquid. Vapour‑tight materials reduce how much water can pass through walls and roofs, while more vapour‑open materials let moisture migrate and dry out over time. As a result, moisture movement becomes something that can be shaped rather than endured: controlled airflow, deliberate vapour pathways, and conscious drying routes replace accidental leakage. Check out How Seasonal Weather Patterns in the UK Affect Roof Insulation Performance
Common Causes of Moisture Problems After Insulation
After insulation is added, moisture problems often arise from a few recurring issues rather than from the materials alone. Poor ventilation after energy upgrades, incorrect insulation installation, and the presence of cold bridges can all create conditions where damp and condensation increase. Understanding how each of these factors contributes to surface condensation and trapped moisture is essential for diagnosing and preventing damage.
Poor Ventilation After Energy Upgrades
In many homes, energy upgrades such as added insulation, new windows, and draft sealing unintentionally reduce natural air exchange, leading to poor ventilation and increased moisture problems. Once the building envelope becomes tighter, everyday activities, cooking, showering, drying clothes, release water vapour that has fewer escape routes. Moisture then lingers, raising indoor humidity and pushing condensation onto the coldest available surfaces.
This hidden trade‑off can feel like a loss of control: comfort improves, yet windows mist up, corners darken with mould, and indoor air grows heavy and stale. Without deliberate ventilation, through trickle vents, mechanical extract systems, or controlled window opening, residents may find themselves relying on dehumidifiers and constant wiping, instead of enjoying the flexible, low‑maintenance living conditions they expected.
Incorrect Insulation Installation
Poor ventilation is not the only reason moisture problems worsen following energy upgrades; how insulation is installed can be just as significant. When insulation is fitted loosely, compressed, or with gaps, warm indoor air can escape into colder layers of the structure and cool rapidly, creating hidden condensation. This trapped moisture undermines the sense of control and comfort people expect after improving their homes.
Missing or misplaced vapour control layers are another frequent issue. If the vapour barrier sits on the wrong side, or is punctured by services and not sealed, water vapour can move freely into building fabric and then be blocked from drying out. Over time, this invites mould, decay, and a costly loss of the freedom to use the space as intended.
Cold Bridges and Surface Condensation
Though insulation is often added to make homes warmer and drier, it can unintentionally create cold bridges that become prime spots for condensation. A cold bridge is any element such as a steel beam, dense concrete lintel, uninsulated window reveal, or exposed joist end that bypasses the insulation layer and stays markedly colder than surrounding surfaces.
When humid indoor air touches these cooler spots, moisture condenses, often forming dark patches, peeling paint, or mould. This undermines the promise of a healthy, low‑maintenance home and limits how people can use and enjoy their space. Prevention relies on continuous insulation, careful detailing around structural elements, and vapour‑aware design, so temperature and moisture are controlled without trapping residents in a cycle of constant mitigation. To explore more about condensation issues and their solutions, read our blog post Condensation Control UK: Understanding Moisture Problems and How to Prevent Them Effectively
Signs of Damp After Insulation
After insulation is installed, early signs of damp often appear as mould growth on walls, ceilings, or around windows, along with persistent surface moisture. These issues are frequently accompanied by musty smells that linger even after cleaning or airing the room. Over time, such moisture can lead to visible damage, including peeling paint, stained plaster, and deteriorating finishes.
Mould Growth and Surface Moisture
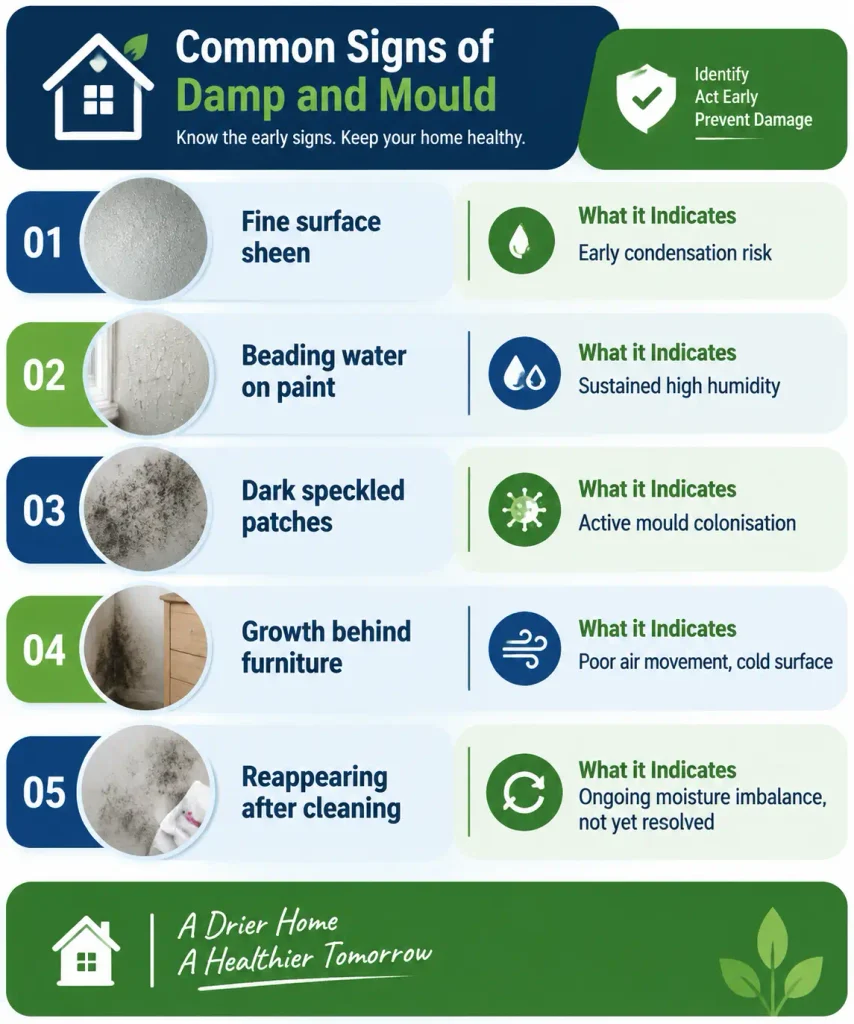
Mould growth and surface moisture are often the clearest visible signs that something is wrong with a property’s moisture balance after insulation work. These marks reveal where trapped humidity is settling instead of being freely ventilated away. Dark spots around thermal bridges, window reveals, and cold external corners indicate surfaces dropping below dew point, limiting the occupants’ freedom to use the space without restriction. Surface condensation can first appear as a fine sheen, then progress to speckled mould if humidity and cold surfaces persist. Here is the detailed post you must visit, Comprehensive Mould Prevention Solutions: Essential Tips to Safeguard Your Home and Health
Musty Smells and Visible Damage
Musty smells and visible damage often provide the earliest clues that insulation has disrupted a property’s moisture balance, even before mould patches fully appear. A stale, earthy odour that lingers after airing rooms signals trapped humidity within walls, floors, or loft spaces. This smell indicates organic materials are beginning to break down, threatening both comfort and structural integrity.
Visually, residents may notice paint blistering, wallpaper lifting at the seams, or faint brown tidemarks creeping across plaster. Skirting boards can swell, laminate may cup or buckle, and window frames might show darkened, crumbly sections. These changes point to hidden damp building behind newly insulated surfaces, warning that the building envelope is no longer breathing as intended and that corrective action is needed to restore balance.
Preventing Condensation After Insulation
Preventing condensation after insulation hinges on how well a property handles moist air. The next section explains how improving ventilation and airflow reduces the risk of water vapour accumulating on cold surfaces. It also outlines practical ways to manage indoor humidity levels so that insulation upgrades do not introduce new damp problems.
Improving Ventilation and Airflow
Effective ventilation is essential for keeping internal moisture under control once new insulation has been installed. When air is allowed to move freely, moisture has less chance to settle on cold surfaces and form condensation. Instead of sealing a home into stagnation, well-planned airflow lets occupants enjoy comfort without feeling trapped behind airtight walls. Check PIV Ventilation UK Explained: What It Is and How It Works
Balanced strategies focus on clear air paths: from trickle vents and openable windows to continuous mechanical systems that quietly refresh rooms. The aim is simple: stale, moisture-laden air out; fresh, drier air in.
| Practical Action | Purpose |
| Unblocked air bricks | Maintains sub-floor and wall cavity ventilation |
| Regular window airing | Releases moisture from everyday living |
| Internal door undercuts | Allows free movement of air between rooms |
| Mechanical extract in wet rooms | Rapidly removes steam at its source |
Managing Indoor Humidity Levels
Managing indoor humidity becomes especially important after insulation upgrades, because warmer internal surfaces can still accumulate moisture if air remains too damp. Once the building is tightly sealed, moisture from breathing, cooking, and washing can no longer drift harmlessly outside; it lingers, raising relative humidity and driving condensation.
To stay free from damp, occupants typically aim for 40–60% indoor relative humidity. A simple digital hygrometer offers instant feedback, allowing people to adjust habits rather than surrender comfort. They might use extractor fans when cooking or showering, put lids on pans, and dry clothes outdoors or in a vented space. Where moisture loads are high, a well‑sized dehumidifier or mechanical ventilation system can stabilise humidity, protecting both the structure and the occupants’ independence.
Assessing Moisture Risks Before Insulation
Before any insulation work begins, it is essential to assess how the specific building type responds to moisture, airflow, and temperature changes. Older solid-wall properties, modern cavity-wall homes, and timber-framed structures each carry different moisture behaviours and vulnerabilities. By understanding these characteristics, one can select suitable insulation methods that reduce heat loss without increasing the risk of damp or condensation.
Understanding the Building Type
Building type plays a decisive role in how moisture behaves once insulation is added. Solid-wall terraces, cavity-wall suburbs, steel-framed sheds, and lightweight timber cabins all channel vapour differently. If their limits are ignored, insulation can trap moisture instead of liberating comfort.
Before changing anything, a clear picture of the structure is essential:
| Building Feature | Moisture Question to Ask |
| Wall construction | Solid, cavity, timber, steel, or mixed? |
| Age of building | Pre-1919, post-war, or recent code-compliant? |
| External finishes | Brick, render, cladding, or mixed layers? |
| Internal linings | Plaster, board, panelling, or exposed structure? |
| Existing ventilation paths | Chimneys, vents, leaky frames, or sealed shell? |
Understanding these limits lets occupants pursue warmth and low bills without sacrificing dry, breathable spaces.
Choosing Suitable Insulation Methods
A careful choice of insulation method begins with judging how each option will alter the way moisture moves and dries out of the building. Before committing, an owner or designer weighs how easily the structure currently sheds moisture and what might happen if drying pathways are blocked.
They examine vapour permeability, airtightness, and the existing sources of damp driving rain, ground moisture, internal humidity. Internal wall insulation, for example, can trap moisture in cold masonry if vapour control and ventilation are not carefully managed. External systems may allow more robust drying but demand sound detailing at junctions.
The most suitable method usually balances energy savings with open drying routes, simple maintenance, and minimal reliance on perfectly executed airtight layers.
Fixing Damp Problems After Insulation
Identifying the true source of damp after insulation is essential before attempting any repair. A homeowner who values independence starts by checking for bridging insulation, blocked vents, leaking gutters, or cold bridges around windows and joists. Moisture meters, smoke pencils, and infrared cameras can quickly reveal hidden faults without invasive work.
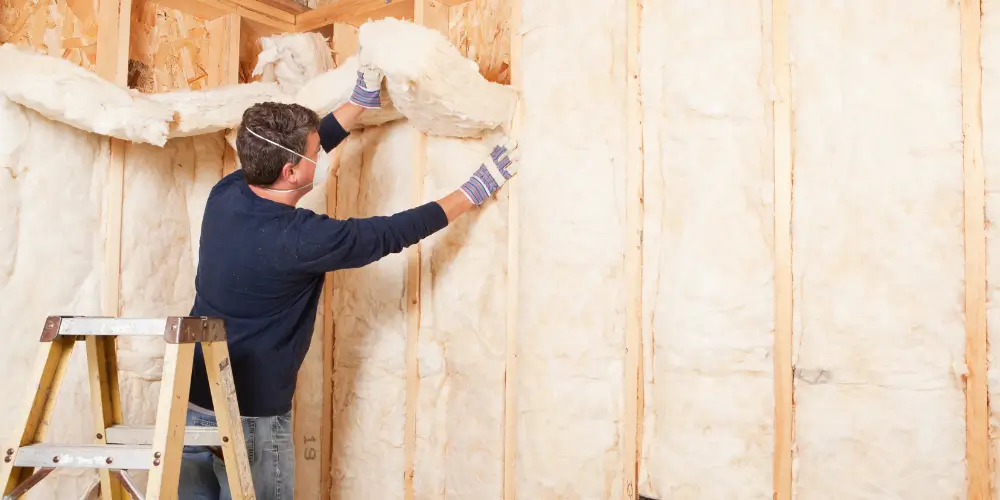
Once the cause is clear, fixes can be targeted rather than cosmetic. That might mean reinstalling insulation with gaps for airflow, adding vapour control layers, or upgrading extraction in kitchens and bathrooms. Harder failures—like penetrating damp or rising damp—demand repairs to masonry, drainage, or damp‑proof courses.
| Problem Type | Likely Cause | Freedom‑Focused Fix |
| Surface mould | Poor ventilation | Add vents, fans, routine airing |
| Streaming windows | High indoor humidity | Dehumidifiers, trickle vents |
| Cold patches | Thermal bridges | Local insulation, insulated plasterboard |
| Peeling paint | Penetrating damp | Repair gutters, repoint, weatherproof |
| Tide marks on walls | Rising damp | DPC repair, drainage improvements |
Frequently Asked Questions
Can Damp After Insulation Affect My Home Insurance or Warranty Coverage?
Yes, damp after insulation can affect home insurance and warranties; insurers may argue poor maintenance or faulty installation. Policy terms, installer guarantees, and maintenance records ultimately decide whether claims are honoured or rejected. Independent surveys often strengthen the homeowner’s position.
Are Certain Insulation Materials Better for Allergy or Asthma Sufferers in Damp-Prone Homes?
Yes. In damp‑prone homes, closed‑cell spray foam, rigid foam boards, and mineral wool suit allergy or asthma sufferers best; they resist moisture, mold, and dust, preserving cleaner air and supporting freer, healthier breathing conditions.
How Does Damp After Insulation Impact Property Value and Ease of Selling?
Damp after insulation usually cuts property value, scares lenders, and shrinks the buyer pool. Survey reports highlight moisture risks, inviting renegotiation, delayed sales, or demands for remedial work, limiting owners’ freedom to sell quickly, simply, and at their chosen price.
Can Smart Home Sensors Help Monitor and Prevent Post-Insulation Condensation?
Yes. Smart sensors track humidity, temperature, and dew point in real time, alerting owners before moisture builds. With data-driven control of ventilation and heating, occupants stay independent of guesswork, preventing hidden damp while protecting comfort, structure, and value.
Is It Safe to Live in a Home With Damp and Mould After Insulation Work?
It is not fully safe; damp and mould can damage lungs, aggravate allergies, and weaken structures. Occupants may choose to stay temporarily, but should ventilate, clean visible growth, and prioritise professional diagnosis and remedial work swiftly.
Conclusion
Understanding why damp and condensation after insulation worsen helps homeowners make better decisions. When insulation alters heat and airflow, hidden moisture issues often surface. By recognising early signs of damp, evaluating moisture risks before work begins, and ensuring proper ventilation and detailing, many problems can be avoided. Where issues already exist, prompt diagnosis and targeted remediation protect both the building fabric and indoor air quality, ensuring insulation delivers comfort without unwanted side effects.